Further development
Introducing
divio project push dbdivio project push media
In this section we will continue to develop the project. We will install Django Photologue, a popular image gallery application. Some of these steps are familiar, but it is valuable to reinforce them.
Install Django Photologue in the project
We will more or less follow the directions in the Django Photologue installation and configuration instructions, and use the templates and styling from the Django Photologue demo project.
Requirements
Add the package to your requirements.in (always remembering to pin it):
django-photologue==3.10
(Check its dependencies - though in fact we don’t need to do anything here.)
Edit settings.py
Add the necessary applications to INSTALLED_APPS:
INSTALLED_APPS.extend([
    'axes',
    'photologue',
    'sortedm2m',
])
Edit urls.py
# -*- coding: utf-8 -*-
from django.conf.urls import url, include
from django.views.generic import TemplateView
from aldryn_django.utils import i18n_patterns
import aldryn_addons.urls


urlpatterns = [
    url(r'^$', TemplateView.as_view(template_name="homepage.html"), name='homepage'),
    url(r'^photologue/', include('photologue.urls', namespace='photologue')),
] + aldryn_addons.urls.patterns() + i18n_patterns(
    # add your own i18n patterns here
    *aldryn_addons.urls.i18n_patterns()  # MUST be the last entry!
)
Copy the templates and static files from the demo project
The templates and static files are at https://github.com/richardbarran/django-photologue/tree/master/example_project/example_project.
Copy the templates to your project’s templates directory, and the static files to static.
Build and migrate
As before, you will need to build and run Django migrations:
docker-compose build
docker-compose run web python manage.py migrate
And now you are ready to try out the project:
docker-compose up
At http://localhost:8000, you should now find the site:
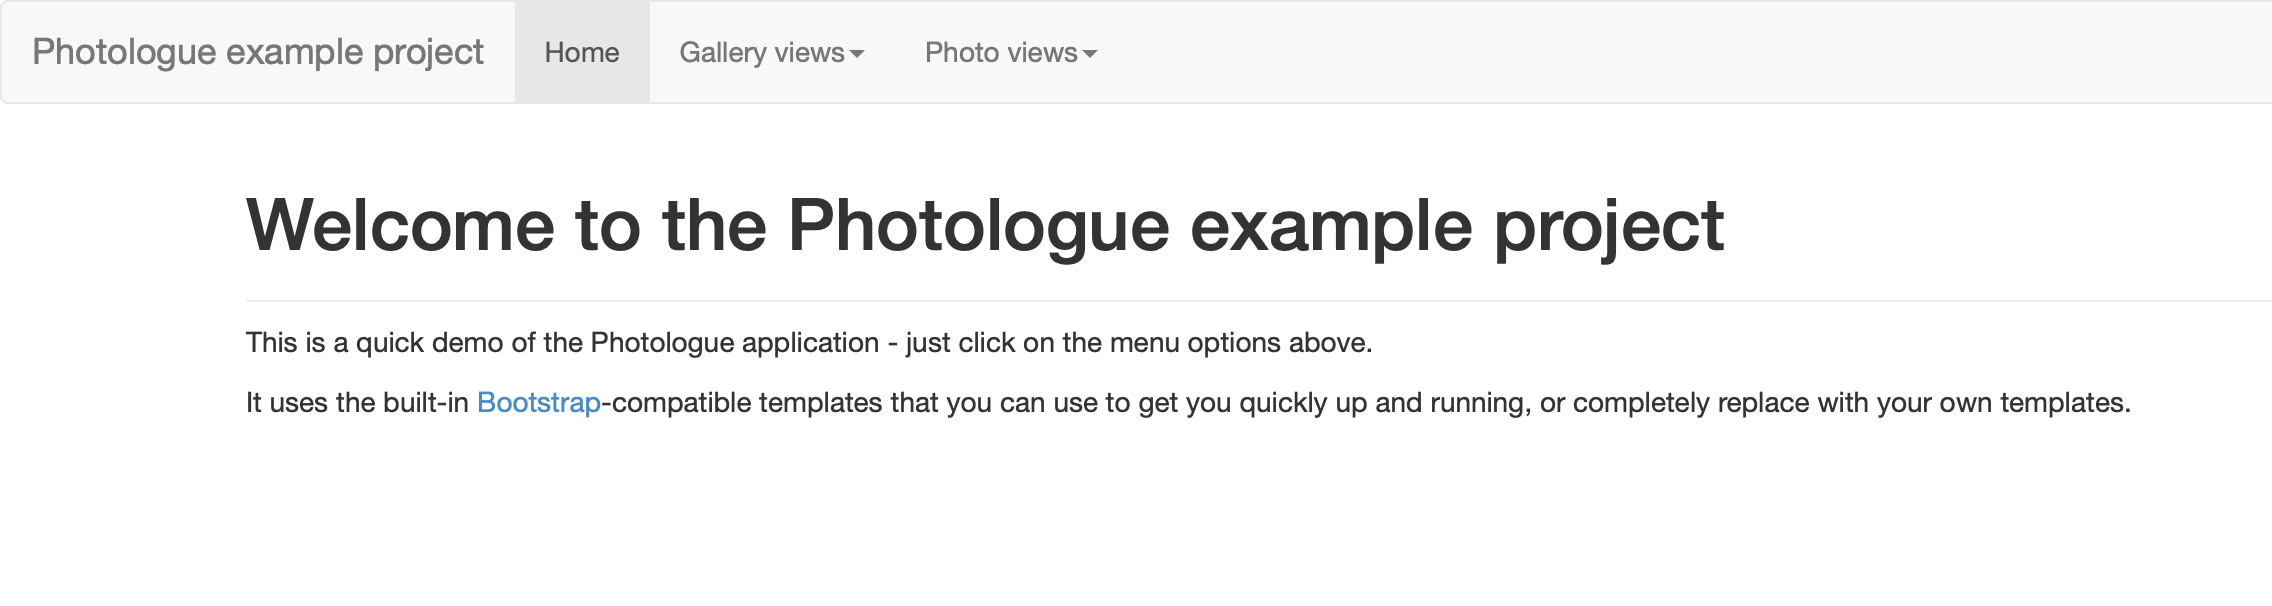
In the admin, create a gallery or two at http://localhost:8000/en/admin/photologue/gallery/, and add some images to them.
We installed WebP support earlier - so make sure that it can handle a WebP image (again, note that your browser may not support WebP images).
Commit and deploy your changes
Once the local project is working as it should, commit the changes:
git add requirements.in settings.py urls.py static templates
git commit -m "Installed Django Photologue"
git push
And finally:
divio project deploy
You can now check the project on the Test server.
Push database and media
You will notice that the project on the cloud doesn’t contain any of your photos. That’s because although you pushed your code, your content hasn’t been transferred.
To push the database to the cloud:
divio project push db
And the media files:
divio project push media
(in both cases you could add live to push them to the Live server).