Deploy your changes to the cloud
Introducing
divio project deploy- SSH access to the server
We’ve completed some local development. Let’s deploy it to the cloud.
We made changes to three files (Dockerfile, requirements.in, settings.py). So:
git add Dockerfile
git commit -m "Added WebP support"
git add requirements.in settings.py
git commit -m "Added Django Axes"
git push
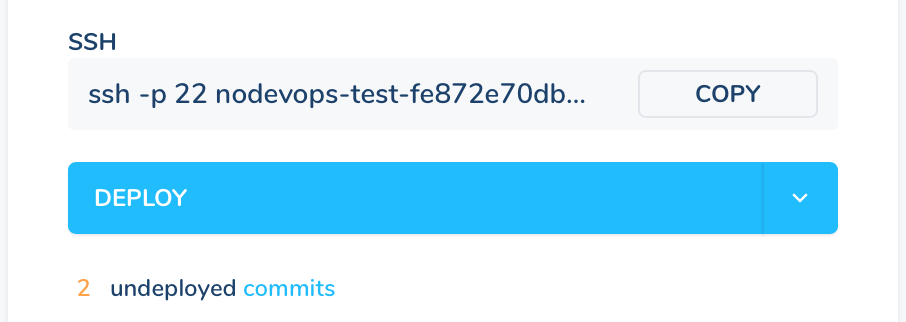
On the project Dashboard, you will see that your new commits are listed:
You can deploy using the Control Panel, or by running:
divio project deploy
When it has finished deploying, you should check the Test server to see that all is as expected. Once you’re satisfied that it works correctly, you can deploy the Live server too:
divio project deploy live
You have now worked through the complete workflow: project creation, local development, deployment. We’ll continue to work in a cycle of development and deployment, introducing new concepts and techniques.
Explanation
Now that you have worked through a complete cycle, it would be a good time to pause and consider some of the questions that have arisen.
Further reading: Ways of thinking about containerised development and deployment